Showing posts with label flowers. Show all posts

Thursday, May 5, 2011

Adventures in Craftiness: Mother's Day Floral Mug Arrangment DIY

I’m so excited to share this tutorial with you. This projected did double duty for me. Not only was I able to create a really fun and easy Mother’s Day DIY but I knocked out one of my class assignments as well! I realized that I might not be the best photographer in the world and maybe it’s not my “calling” but I feel like I do a pretty good job of depicting steps, like these. I don’t know you tell me.

How to create a Mother’s Day Floral Mug Arrangement.


Materials.
-Faux flowers of your picking.
-A pretty mug.
-Floral foam, or stuffing and tissue paper.
-Scissors or wire cutters. (I highly recommend wire cutters, trust me, I know from experience.)


Step One.
Fill your mug with stuffing (or floral foam.) Make sure that it is pushed in very tight and compact.


If you are using stuffing over it with one or two layers of tissue paper. The tissue paper will help keep the flowers in place.


Step Two.
Cut a flower steam to the appropriate length. Use your mug as a guide.
*NOTE: It is best to cut your flower steam long at first and test it in the mug o make sure you get the proper position for your flowers.


Step Three.
Use your first cut flower as a guide to create the length of your other flower steams.


Step Four.
Arrange your flowers in your mug to your liking. Push them through the tissue paper and make sure they are in a secure location. Make sure they are packed tightly together so that they don’t move.


Step Five.
Use small filler flowers and some leaves or greens to fill out and complete your piece.


Your done! Take it to mom and let her enjoy!


I hope you enjoyed this really easy tutorial. There is no real right or wrong way for creating this piece. Your mom will love it knowing that you put the time and effort into creating it yourself. I think the best gifts are handmade. Don’t you agree?

If you make one of these little darlings, I’d love to see your creation. Please share!

Wednesday, April 27, 2011

blue period.

I've been painting on and off for a little while now. I decided to break out the art supplies a few days ago and give it another go. I sware I have creative ADD, I can't keep with one type of project for very long. A little while ago I was taking a Modern Art History class. I have to say it has probably been my most favorite class yet. I really enjoyed learning the history and my Professor was great. Each week we had to reproduce an idea we were studying. I couldn't have more happy to start painting again. It didn't have to be perfect, it just had to show we understood what we were learning about. I wish I wouldn't have stopped painting after the class was over. I'm glad I picked up a paint brush again though.

flowers.


After I finished my piece I noticed a pattern in my work. I guess I've been going through a blue period. It's kind of funny to think about but its true. Here are some of my older pieces:

daisies.

i think i love you.


You can see more of my works at on my flickr account if you'd like. I'm hoping to get more up soon.

Kind of funny how it works out. Do you ever notice a pattern in your work?

Thursday, March 31, 2011

journey to etsy: photography.

Well if you've looked for any kind of advice on Etsy one of the first things you'll hear about is having good photographs. There are a ton of people out there that have online shops, and as much as we would hope to be unique, a lot of them are selling the same exact thing. So, what is going to draw a customer to your shop over others? Photographs.

I'm not going to lie; I'm not an avid online shopper. I like to see, touch, and even smell what I'm going to be buying before I buy it. So I want to make sure my photos highlight my products as much as possible for an online shopper. You'd think for a photography major that this would be easy, not so much. I'm still just learning, and I'm a perfectionist when it comes to my photos. Thanks to some advice from two other wonderful bloggers and Etsy seller; Ashley and Chrissy, I decided just to go with it. I'm going to roll with what I've got and just keep perfecting my photos as I go. I can't hurt to change things up and relist on Etsy right?

Etsy Shop Photo Preview.


+++++++


I also discovered two tutorials that I think are really going to help me the next time around.
Ashley from After Nine to Five recommend that I build a lightbox for my photos. I think this is going to be really useful and I'm going to be taking tips from her tutorial over on her blog. {Thanks again!!!}


Maryam from Pamplemousse! also did a great blog guest post on how to Etsy photography. The tutorial is over at The Art of Staying Up All Night and it is really helpful.


Well, I guess that's that! If you have any advice or know of any good tutorials on photographing products please let me know! Or, if you want any advice or critique, I'm still learning but I can help some, right? I can't help it, I love to help!

Now, go take some pictures! ^_^

Wednesday, February 23, 2011

adventures in craftiness: spring flower pin or hair clip

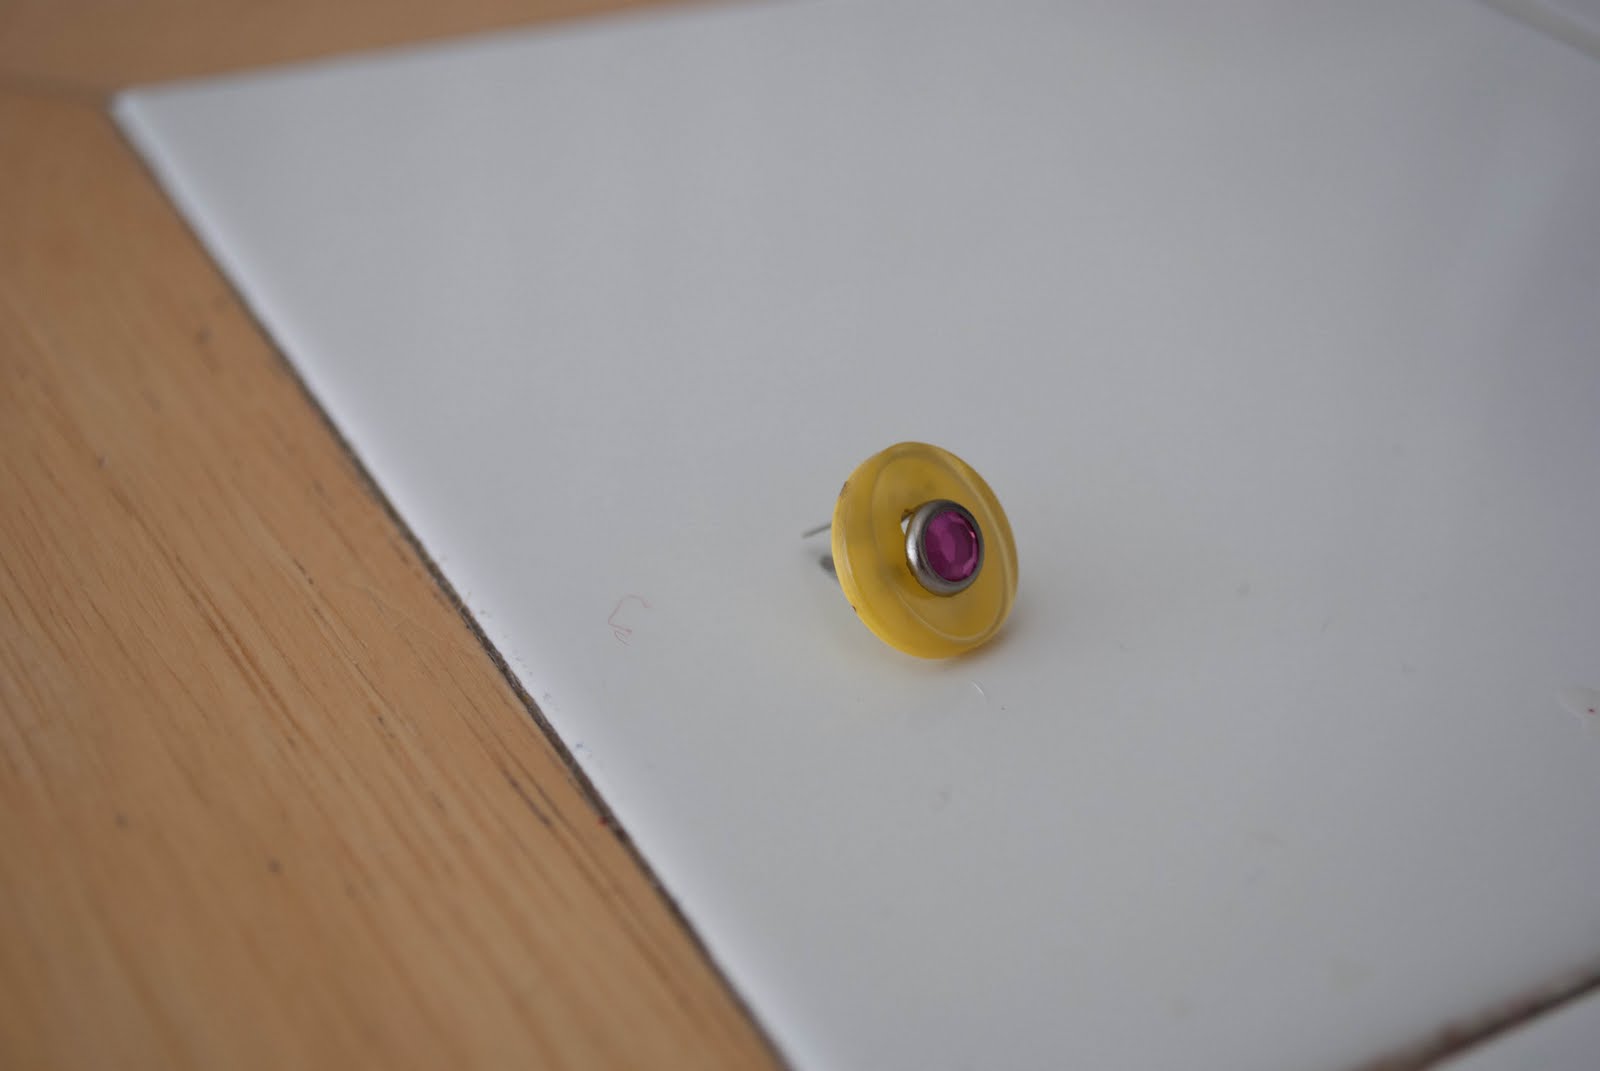
I should probably be working on homework, but I’m brain doesn’t seem to function of that level in the morning, so instead I decided to work on a little tutorial. You’ve all probably seen the little flower pieces that I make, today I’m going to show you how to make a fun spring brooch. The techniques I’m using can also be translated into a hair clip or comb. It’s very simple; you probably won’t even need the steps to figure it out, but just for fun:

Supplies:
An artificial flower
button
Scrapbooking Brads
Scrap fabric
Strong glue (E600 or a glue gun)
Pin back or hair clip


Step one

Carefully take apart each piece of your flower


Step two

Take your button and push your scrapbooking brad through the two holes.


Step three

Slowly reorganize your flower slipping the pieces over the scrapbooking brad. I didn’t put the plastic pieces back into my flower this time. I felt that this flower was full enough, if you would like it to have a fuller look, put the plastic pieces back in. After your done, flatten the points to the brad.


Step four

With the flower facing down place a small amount of glue in the center. This is to add some leaves to the back for an interesting effect. You can skip this step if you’d like. You could also add ribbons or feathers at this point. Be creative and have fun with it.


Step five

Place a line of glue on the back on your flower and press your pin back onto it. Make sure the clasp is open. You would use the same idea for the hair clip, but make sure the clip stays open so you don’t glue the clip together.


Step six

Cut a small circle out of a piece of scrap fabric and press it over the back of the pin to give it a more finished look. You can do this also with the hair clip. Just insert the piece of fabric into the open clip and then place it onto the glue on the flower, this way you will keep the pieces from being glued together.


Finished!

You can pin this new beauty onto a spring jacket or your favorite bag! I decided to make my camera bag a little more girly.


If you decided to make one I’d love to see it, Please share!! Don't forget to be creative, use any size, shape, color flower, and accessories you want. Happy Crafting! ^_^

Monday, February 7, 2011

More Cards.

Well, I know I said I was going to start a new painting today, but that didn't really happen. I did paint, sort of, I realized that Valentines Day is coming up quick, and I wanted to get some cards in the mail soon. So, I made some festive Valentine's Day cards! It was still being creative, just a way to get my juices flowing!


An nice end to a Monday!

Tuesday, January 25, 2011

list and energy and brooches... OH MY!

I’ve been a super busy bee today! I woke up kind of early and finished all of my homework before Aurora woke up! I was also able to start making a new blog button, which I love if you didn’t notice. I then made a To Do List for the rest of my day. It was pretty busy but I’m proud that I fit everything in!


I even got to make a brooch for my mom. She had asked me to make one for her when we were visiting over Christmas, but I just haven’t found the time, or the energy. I finally did it and I’m excited to get it in the mail for her. It’s kind of a surprise and not something I usually do for my mom, so I’m a little tickled by it.


I even got in two blog posts today! I don’t know where my energy came from but I wanted to get stuff done so I just did it. It feels good. I still have to drop off my prescription and go to my doctor’s appointment. It’s nothing serious just routine stuff.

How was your day? Busy? Lazy? I love both kinds of days!

Wednesday, November 17, 2010

wordy on wednesday: two

As promised I have created a new image for my "wordy on wednesday" series! This was an idea I had a long time ago, I've sketched it out but never finished it, and I'm really happy with the results:


Happy Trails!