I should probably be working on homework, but I’m brain doesn’t seem to function of that level in the morning, so instead I decided to work on a little tutorial. You’ve all probably seen the
little flower pieces that I make, today I’m going to show you how to make a fun spring brooch. The techniques I’m using can also be translated into a hair clip or comb. It’s very simple; you probably won’t even need the steps to figure it out, but just for fun:
Supplies:An artificial flowerbuttonScrapbooking BradsScrap fabricStrong glue (E600 or a glue gun)Pin back or hair clip Step oneCarefully take apart each piece of your flower
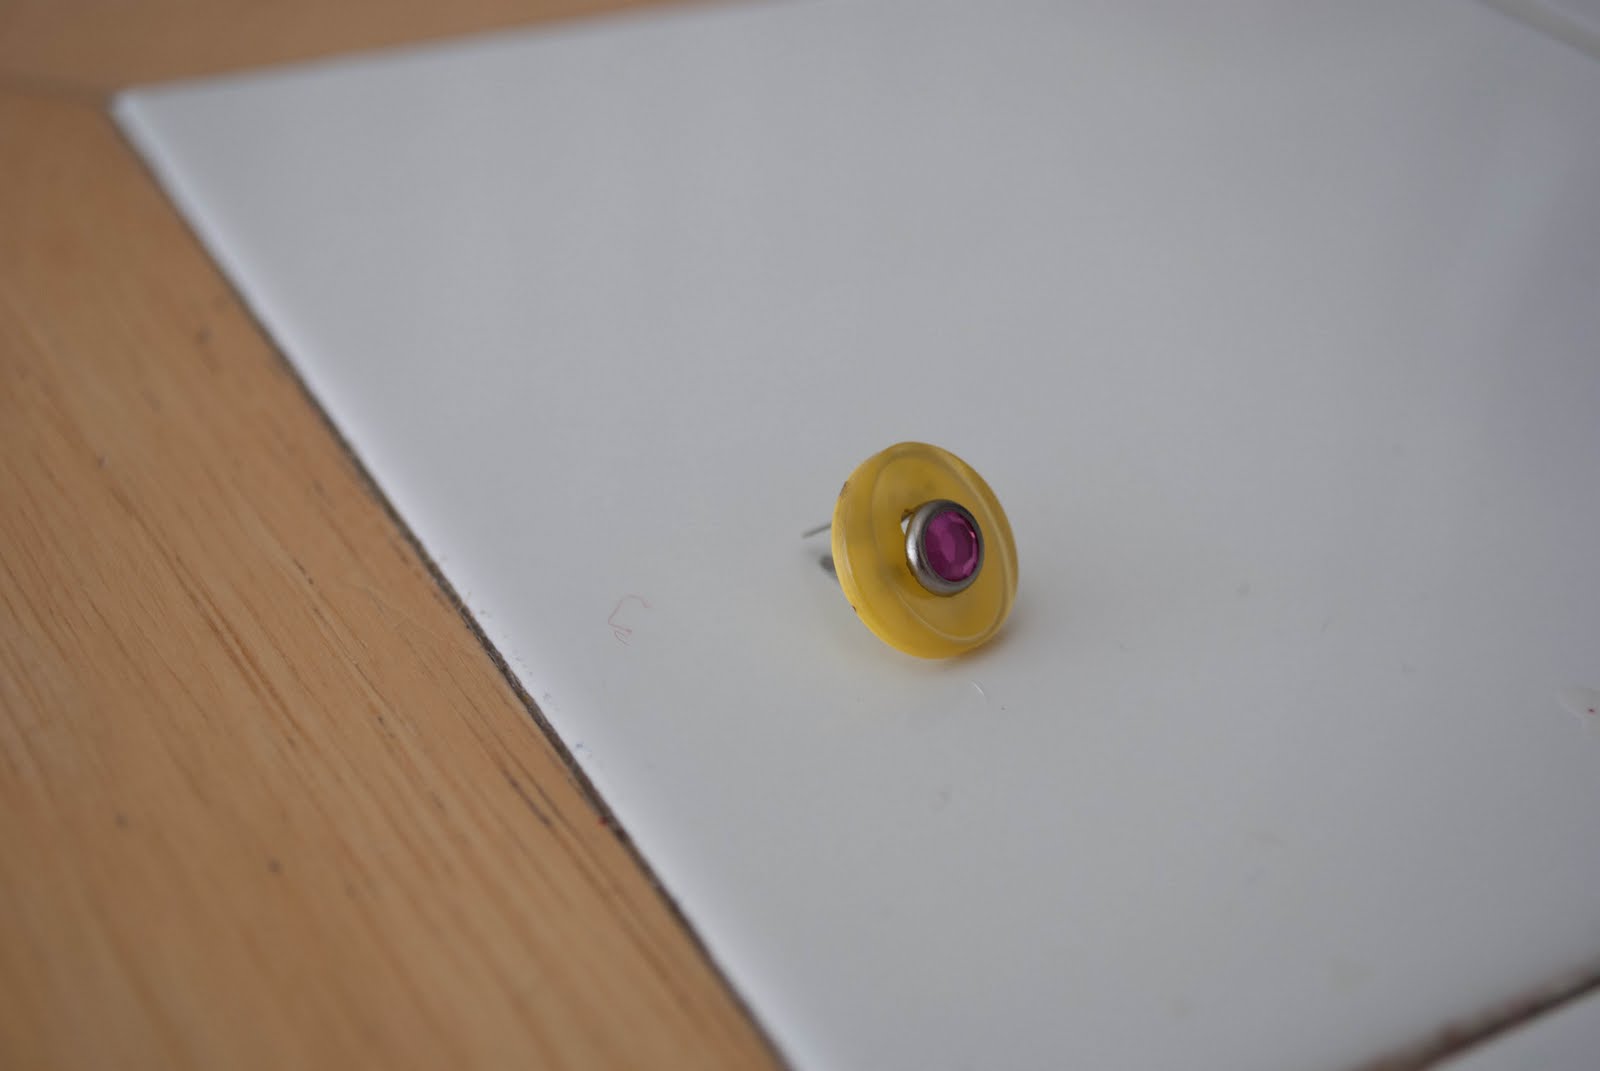
 Step twoTake your button and push your scrapbooking brad through the two holes.
 Step threeSlowly reorganize your flower slipping the pieces over the scrapbooking brad. I didn’t put the plastic pieces back into my flower this time. I felt that this flower was full enough, if you would like it to have a fuller look, put the plastic pieces back in. After your done, flatten the points to the brad.

 Step fourWith the flower facing down place a small amount of glue in the center. This is to add some leaves to the back for an interesting effect. You can skip this step if you’d like. You could also add ribbons or feathers at this point. Be creative and have fun with it.
 Step fivePlace a line of glue on the back on your flower and press your pin back onto it. Make sure the clasp is open. You would use the same idea for the hair clip, but make sure the clip stays open so you don’t glue the clip together.
 Step sixCut a small circle out of a piece of scrap fabric and press it over the back of the pin to give it a more finished look. You can do this also with the hair clip. Just insert the piece of fabric into the open clip and then place it onto the glue on the flower, this way you will keep the pieces from being glued together.
 Finished!You can pin this new beauty onto a spring jacket or your favorite bag! I decided to make my camera bag a little more girly.
If you decided to make one I’d love to see it, Please share!! Don't forget to be creative, use any size, shape, color flower, and accessories you want. Happy Crafting! ^_^


It is absolutely gorgeous! So cute! Love it!
ReplyDeleteSo pretty! I definitely can't wait for spring so I can make some pretty things like that!!
ReplyDeletePS - I just revealed a glittery tuquoise surprise on my blog! ;)
xo
So lovely! I want to make it! :-)
ReplyDeleteThat is so cute! Thanks for the tutorial I am going to have to make one for myself:) have a lovely day!
ReplyDeleteI definitely want to do this :D Great tutorial!
ReplyDeleteI never would have thought of using the brad. Great tutorial!
ReplyDelete